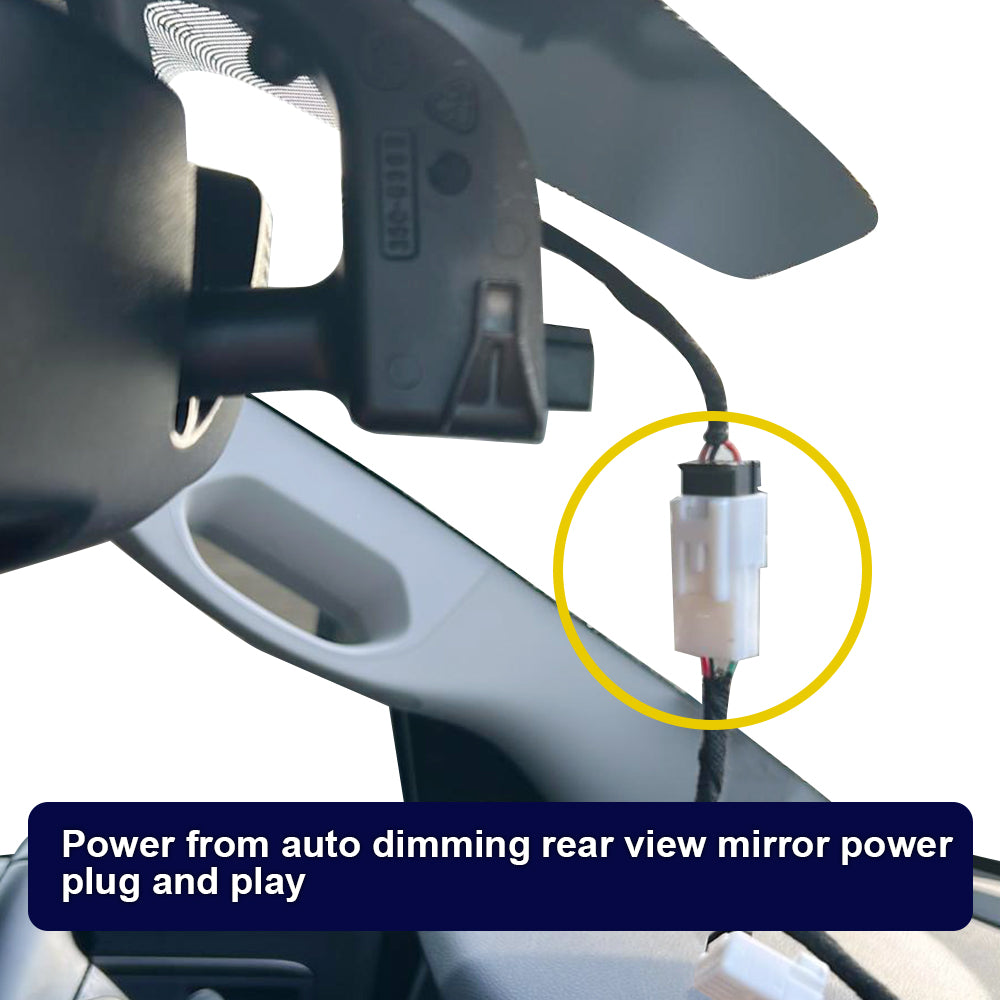


FITCAMX dash cam has brand-new methods for power from Auto-dimming rear view mirror with hidden wiring and easy installation with the method of plug to plug. No need to remove A-pillar and connect the car fuse box and the cigarette lighter.
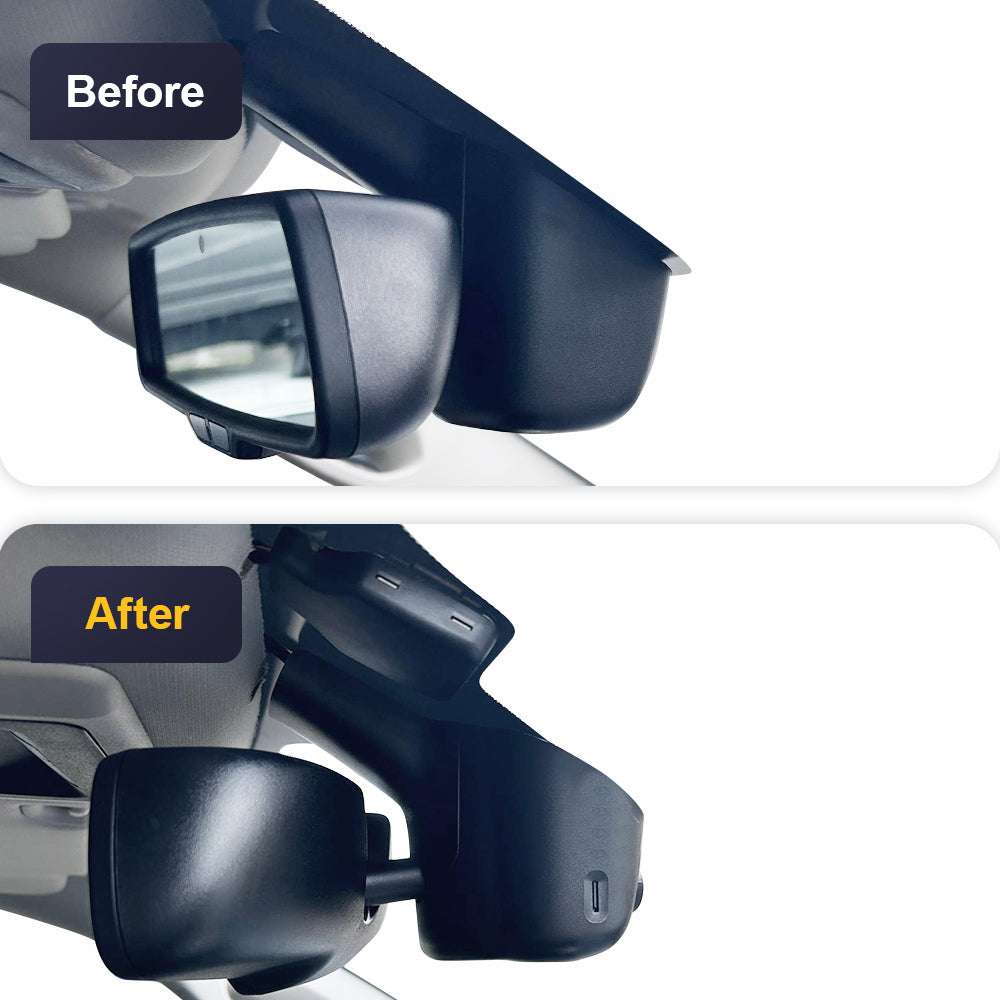
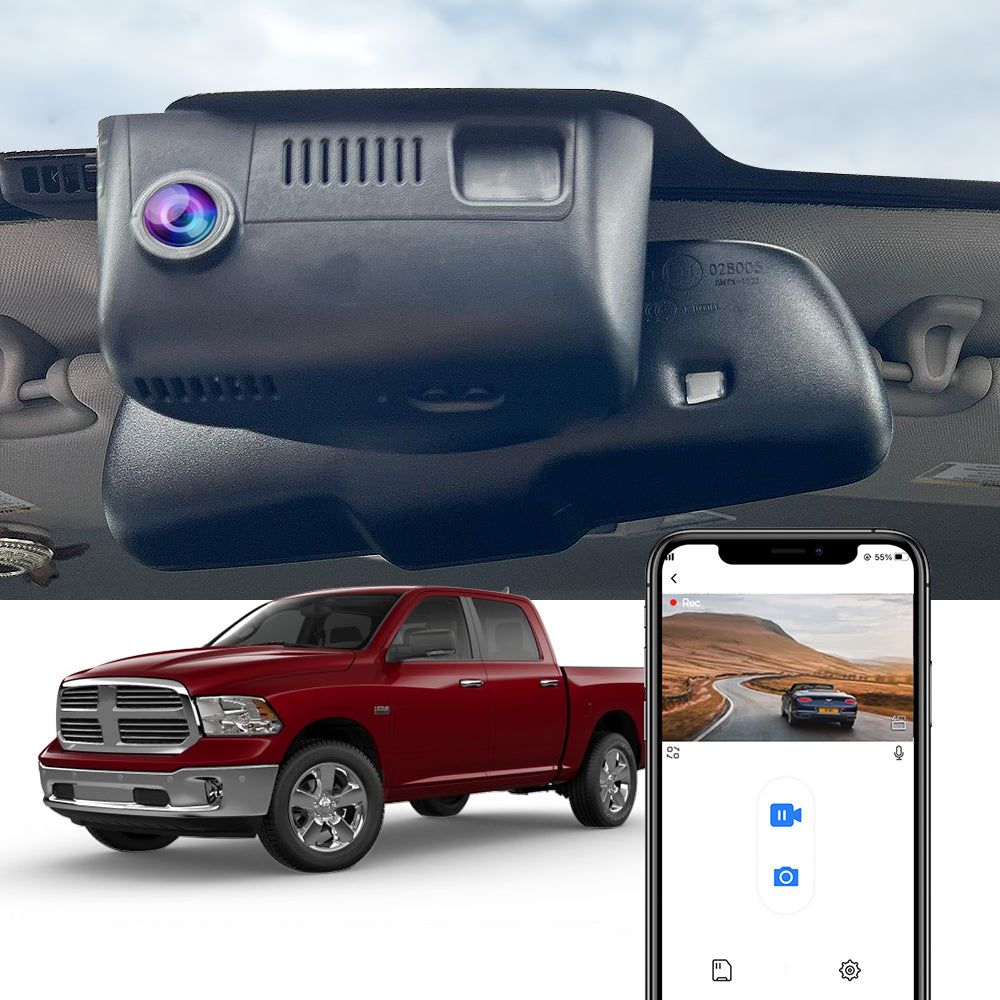
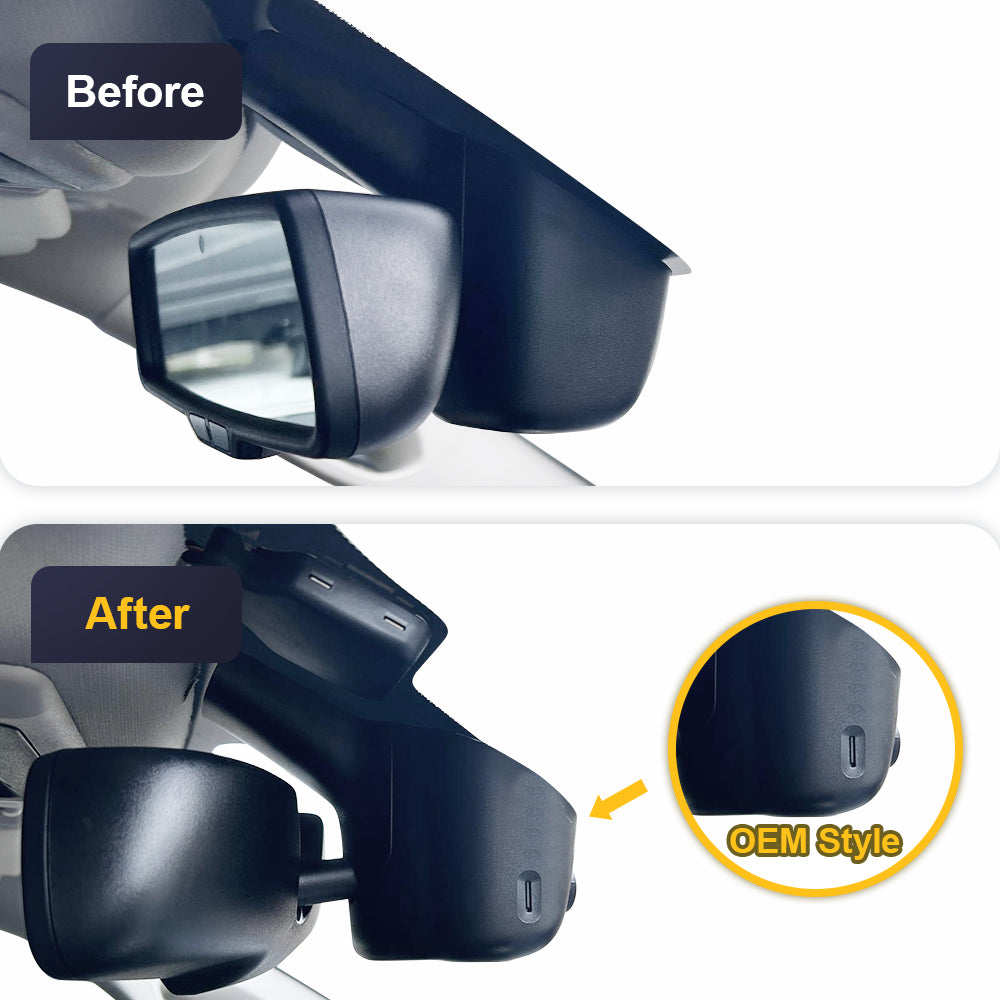
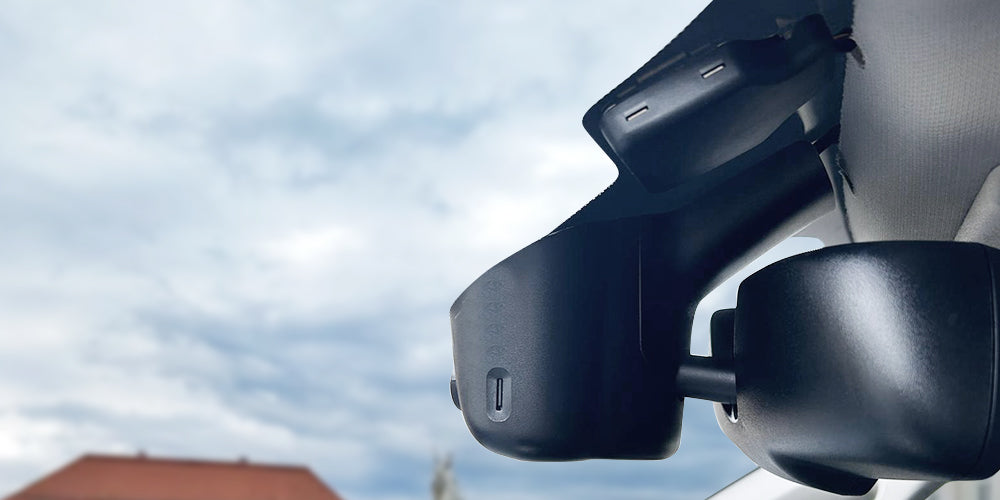
The OEM-style dash cam with a 1:1 restoration of the original rearview mirror back cover shape design, which will not block the driving line of sight.
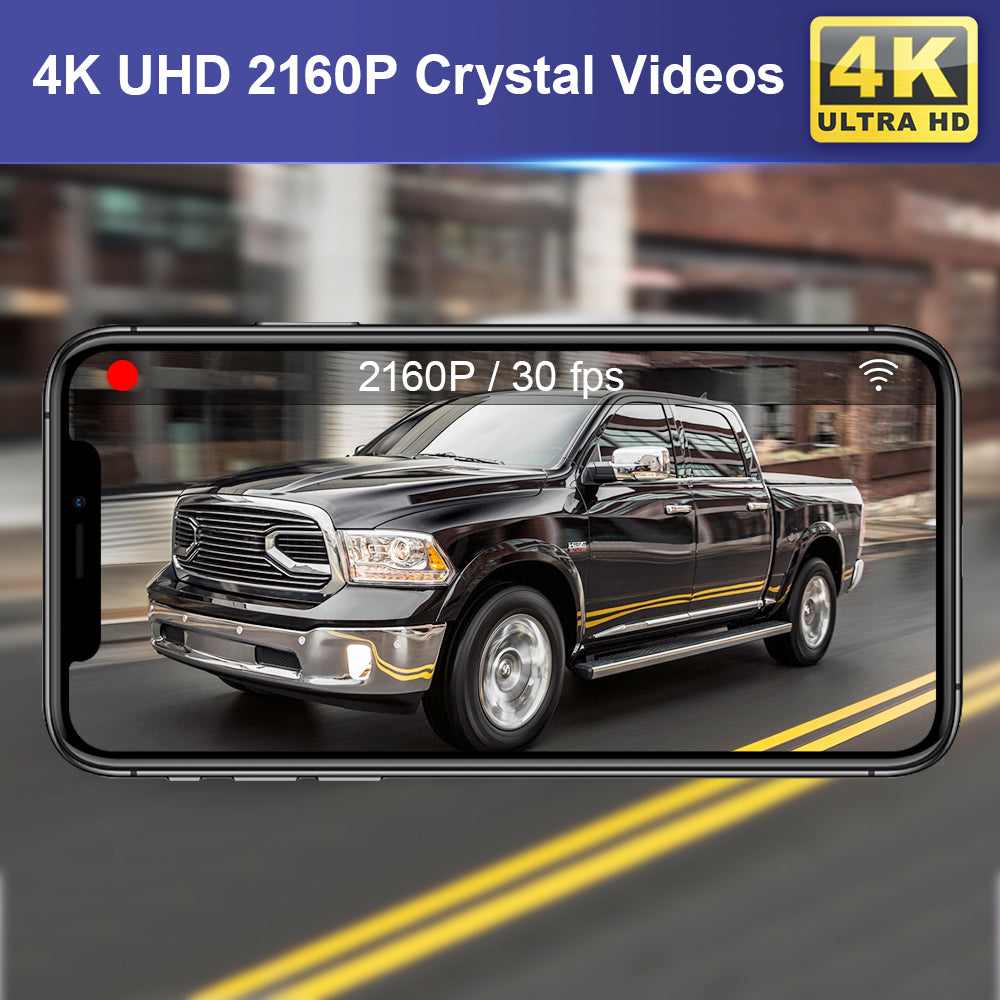
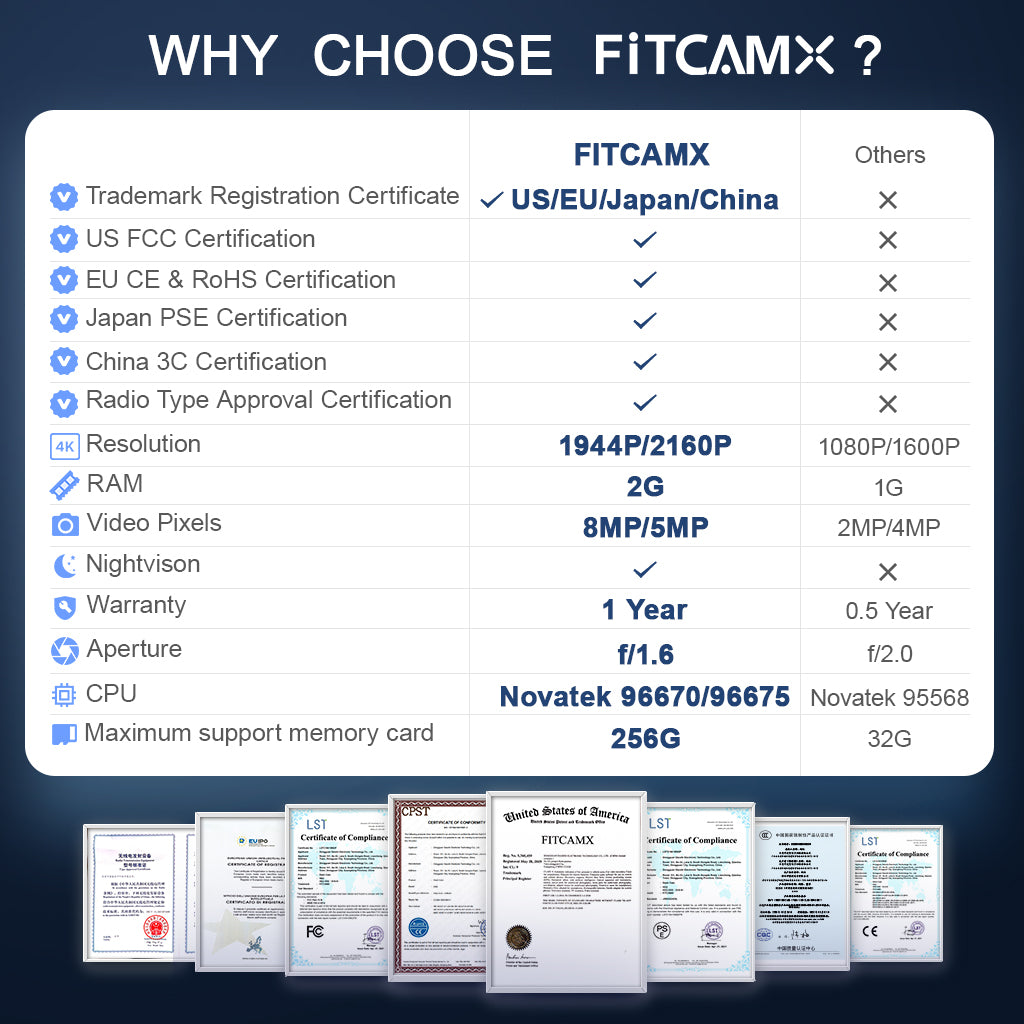
Adopted with f/1.6 big aperture lens and Novatek chip to enable high-definition video at 2160P/30fps, Fitcamx OEM style dash cam can improve image performance in all aspects. It has quite smooth picture and video quality, and can record clear video under low or high light.
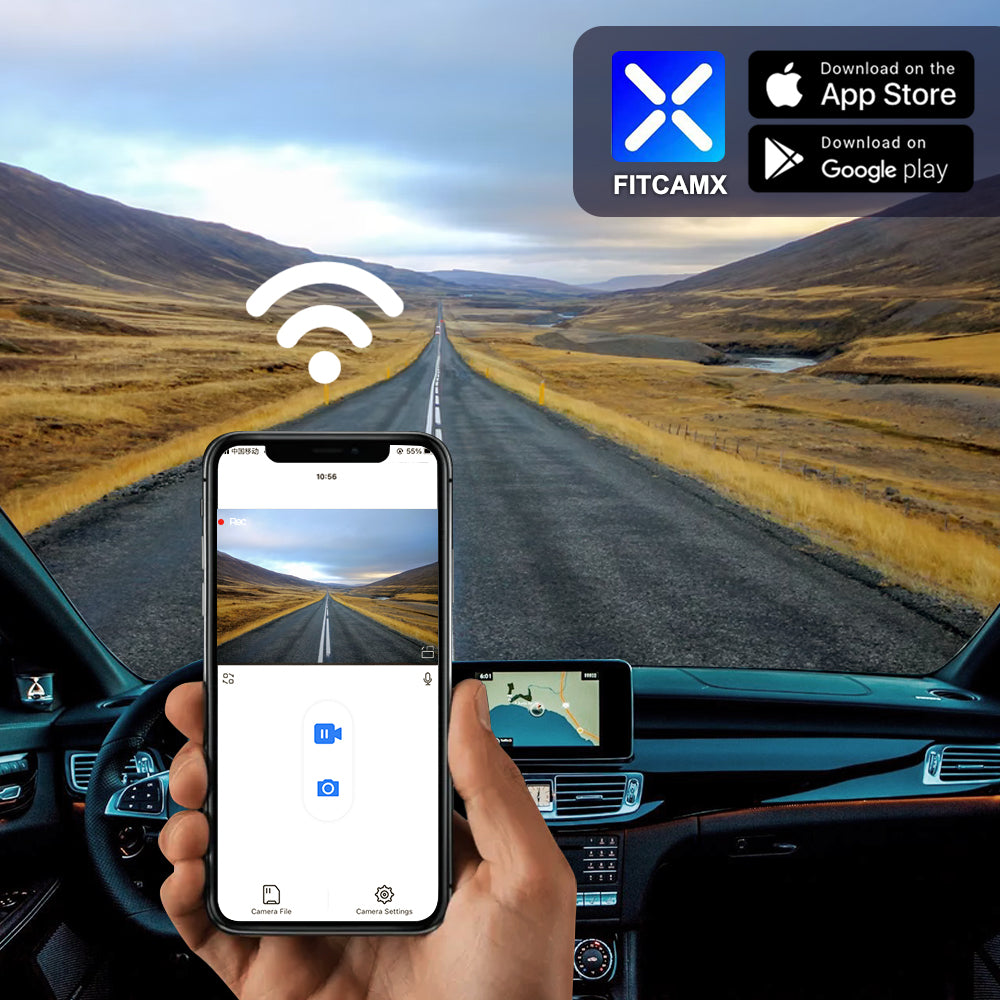
Using phone APP to connect the WiFi of FITCAMX dash cam for downloading videos and sharing them to your social media. Downloading videos is no need for mobile data traffic. (support in Android & IOS)
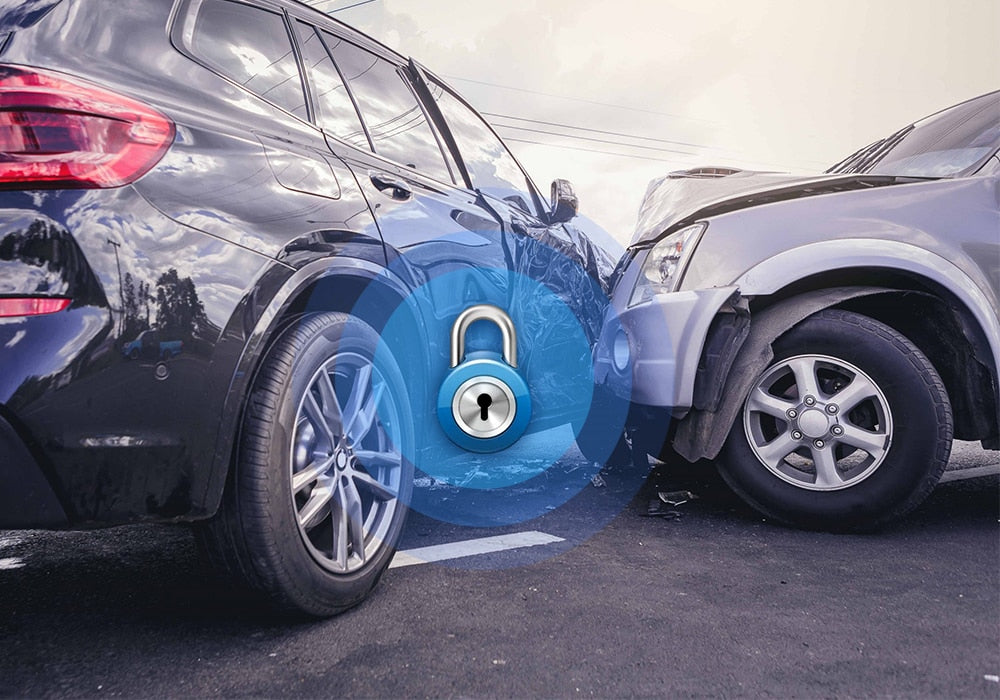
G-Sensor can automatically detect sudden collisions during driving, and immediately save the relevant lens video to the file to prevent overwriting, thereby protecting your video evidence.
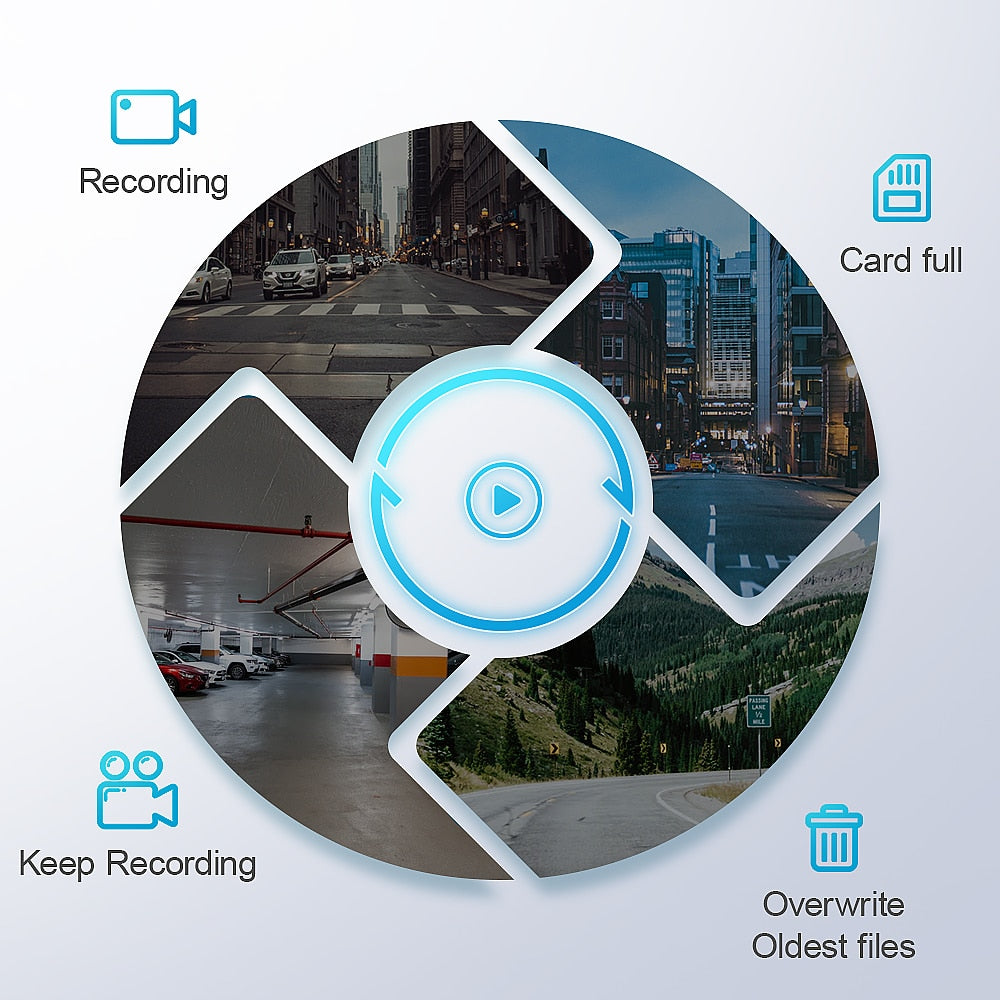
Auto overwrite the oldest videos with the newest when card reaches capacity.( Support 256GB SD card Max.) When the car starts, the dash cam will automatically turn on. When the car is locked, the dash cam will automatically turn off.
SPECS
| Type | 4K Front Only | 2K Dual Cam | 4K Dual Cam |
|---|---|---|---|
| Front Resolution |
2160P (4K Output)
|
1440P (2K Output)
|
2160P (4K Output)
|
| Rear Resolution | / | 1080P(FHD) | 1080P(FHD) |
| Wide Angle |
Front 160°
|
Front 160°+ Rear 140°
|
Front 160°+ Rear 140°
|
| Maximum Aperture | Front f/1.6 | Front f/1.6+ Rear f/2.0 | Front f/1.6+ Rear f/2.0 |
| WiFi | 2.4Ghz | 2.4Ghz | 2.4Ghz |
| Mobile APP | Apple iOS & Android | Apple iOS & Android | Apple iOS & Android |
| Front Cam Installation | No Wiring | No Wiring | No Wiring |
| Rear Cam Installation | / | Hard wire from the front cam | Hard wire from the front cam |
| *Parking Mode |
Requires hardwired installation
|
Requires hardwired installation
|
Requires hardwired installation
|
|
Loop Recording
|
Yes
|
Yes
|
Yes
|
|
Driving Collision Sensing
|
Yes | Yes | Yes |
|
WDR
|
Yes | Yes | Yes |
|
Frame Rate (FPS)
|
30 FPS
|
30 FPS
|
30 FPS
|
|
Maximum supported memory card capacity
|
256GB
|
256GB
|
256GB
|
|
Power Input
|
DC 12V
|
DC 12V
|
DC 12V
|
|
Operating Temp.
|
-20°C ~ 60°C
|
-20°C ~ 60°C
|
-20°C ~ 60°C
|
|
App Language
|
English/中文/日本語/Русский/Українська/Deutsch/Italiano/Español/Français/한국어/ไทย/Türkçe/Polski/čeština/Magyar |
*The rear camera cannot be added separately.
*Parking Mode: The parking mode means that the dash camera will start to record while a collision happens. Not continuous video recording.

Takes power from Auto-dimming rear view mirror.
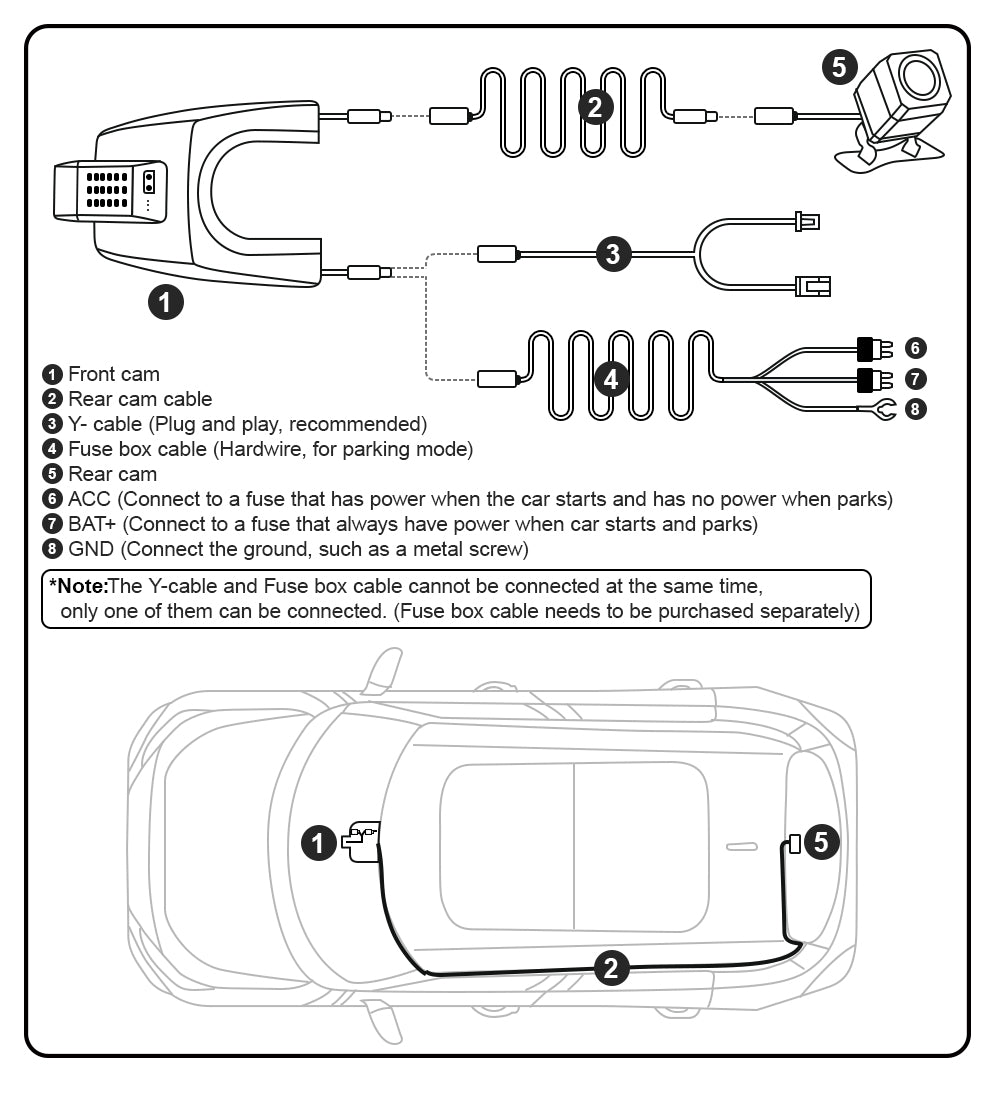
The rear camera is connected from the front cam and doesn't need to be connected to the power supply separately.
4K Dual Cam Video footge download, it is recommended to use a computer to download and watch the video: Download Here
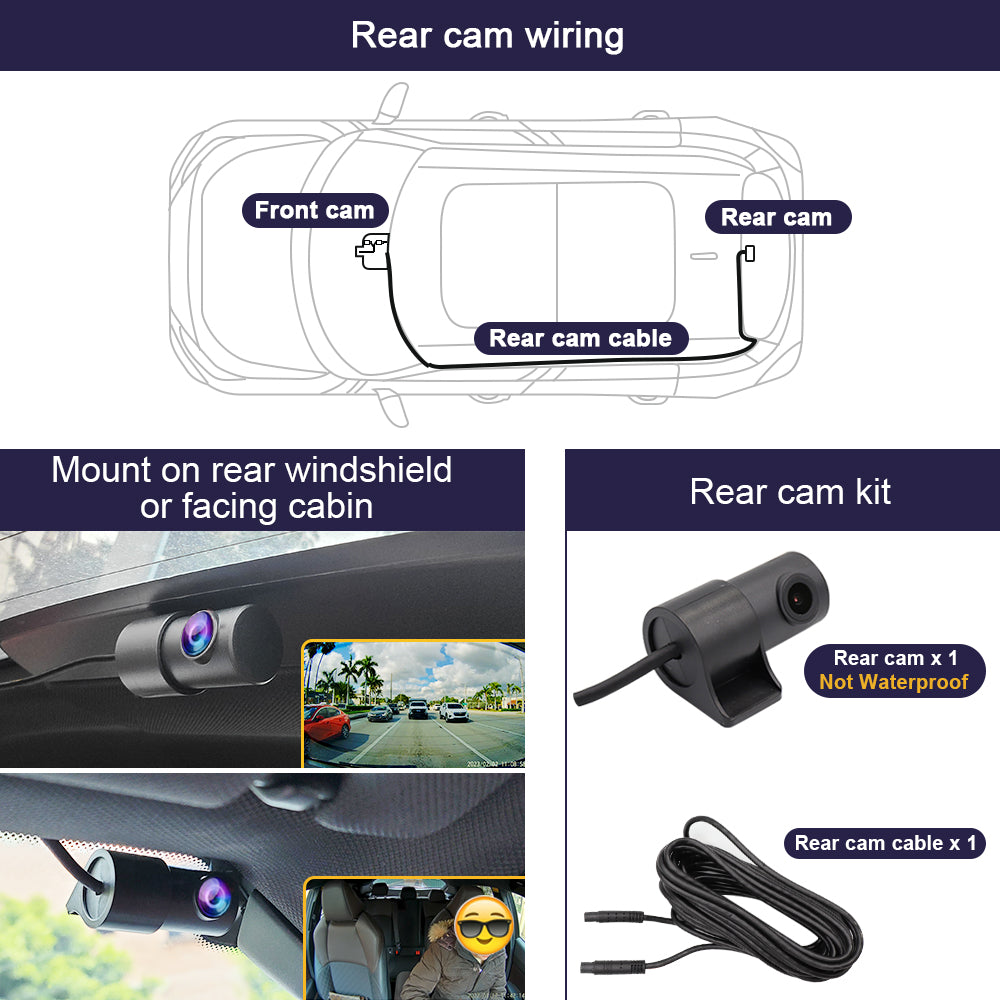
Mount on the rear windshield or facing cabin.
FITCAMX is eager to enhance our customer's driving experience with an innovative design and a reliable quality. We are committed to R&D and innovation in the imaging field, providing world-class visual perceptual solutions for industry customers and users.